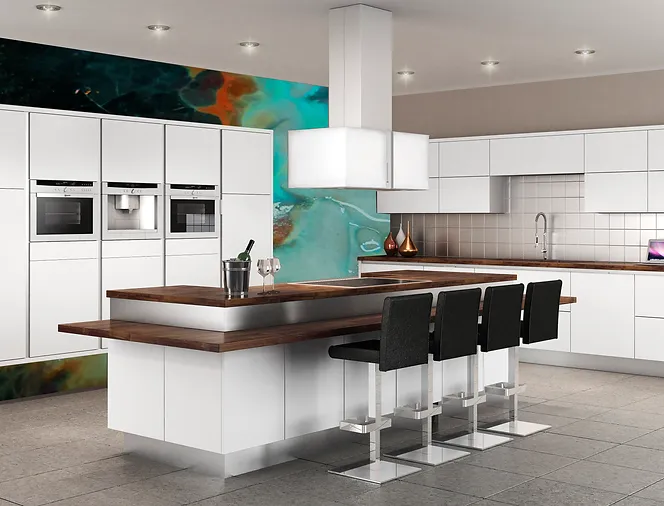
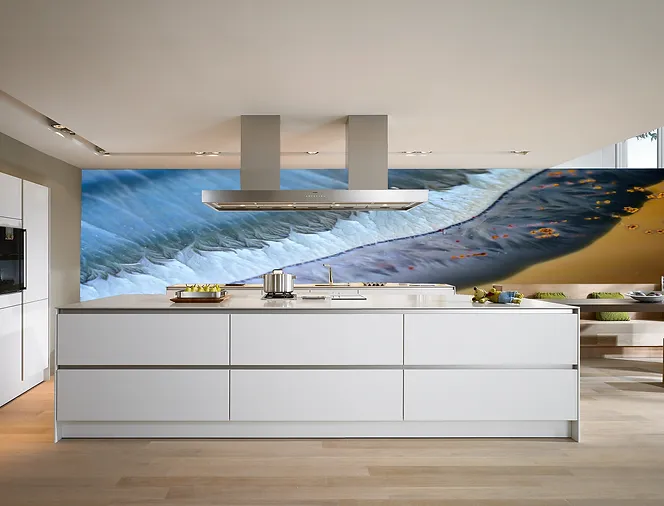
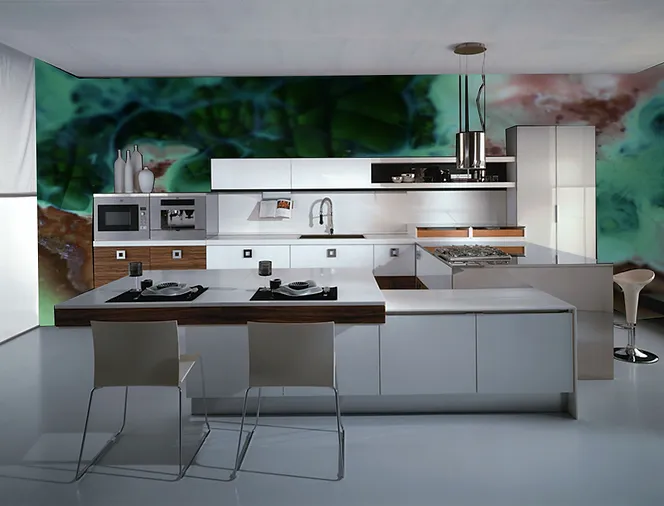
NEW TECHNOLOGIES

The Technical Staff at  are currently developing a new range of revolutionary coatings that provide contractors and DIY users with spectacular durability and specialist finishes.

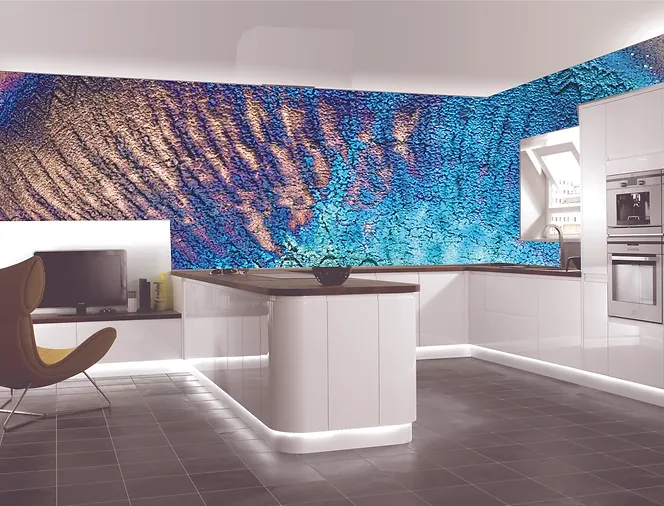
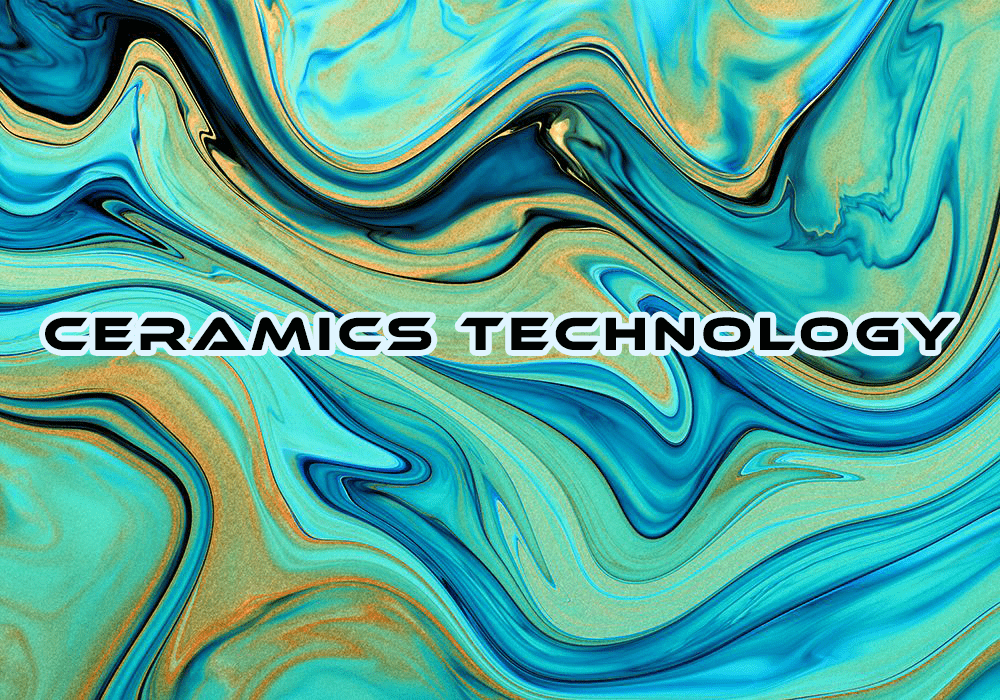
New Inventions and technologies under development are:-

THERMO STATIC – Heat Reflectant coatings

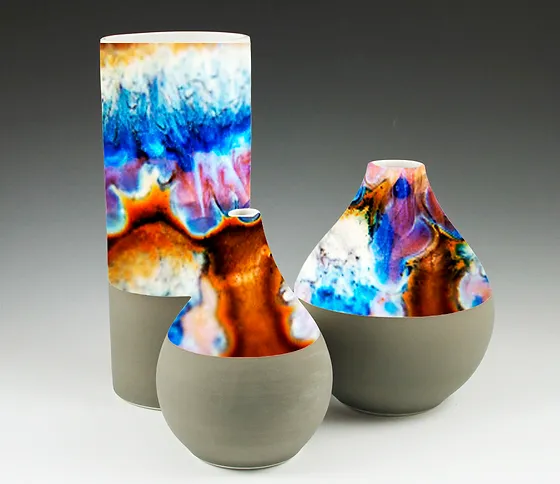
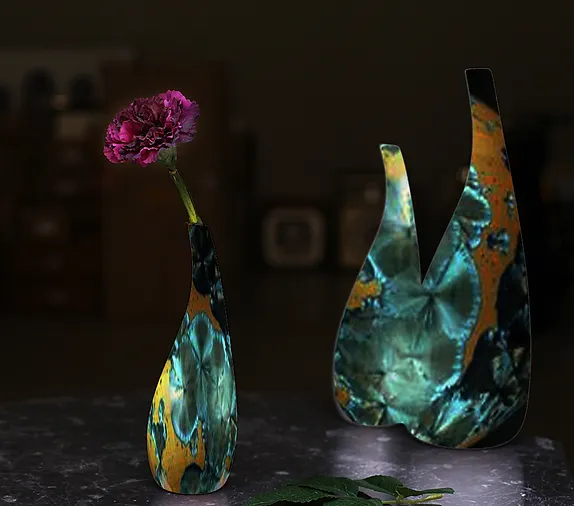
MARBLE GLAZE – A unique 2 coat system that creates an instant Marble Finish on most surfaces.

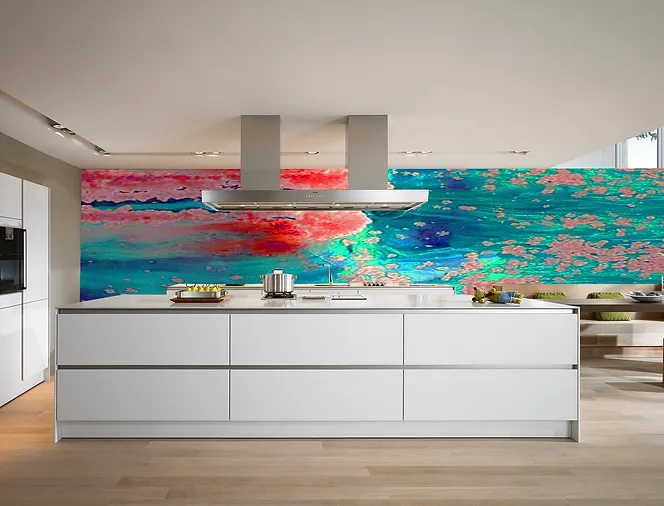
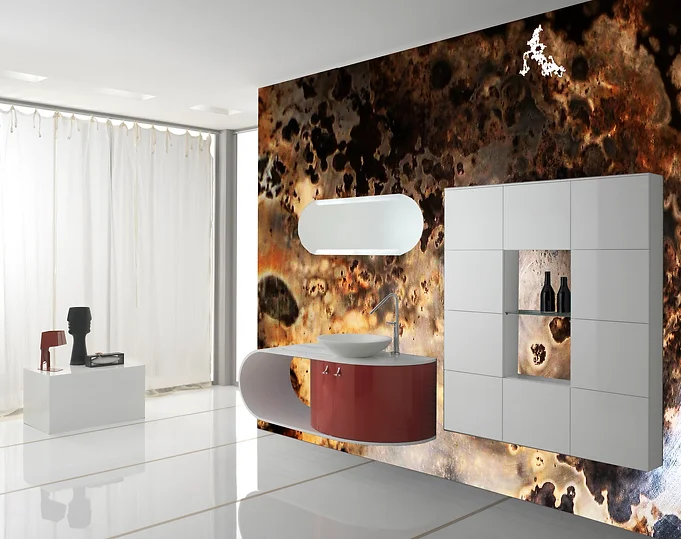
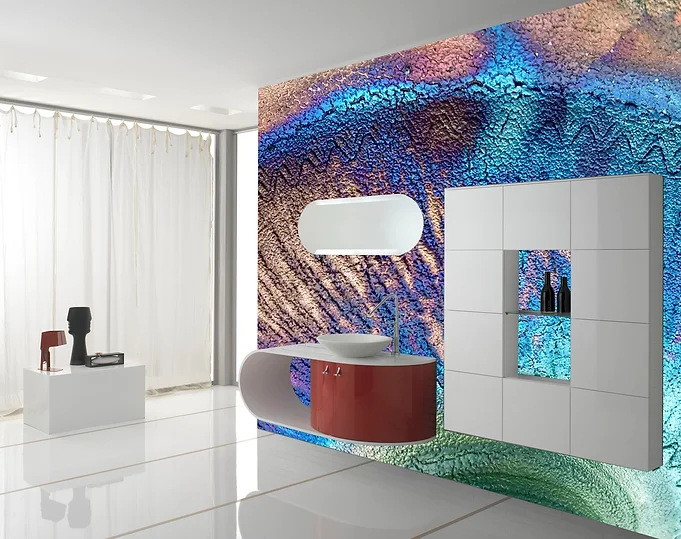
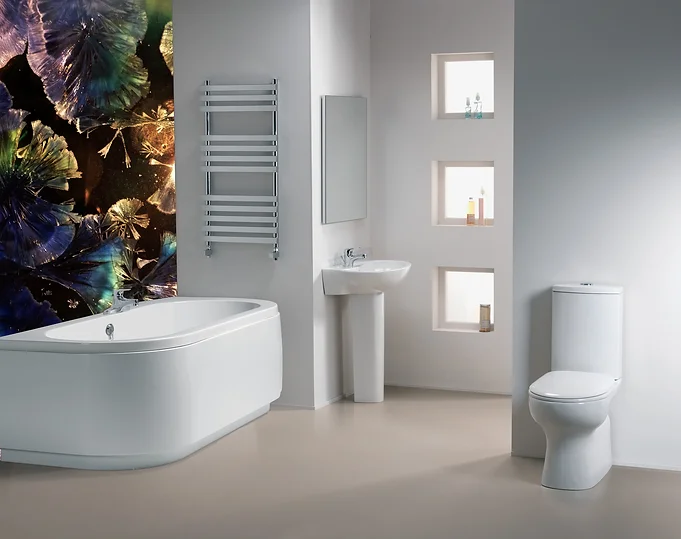
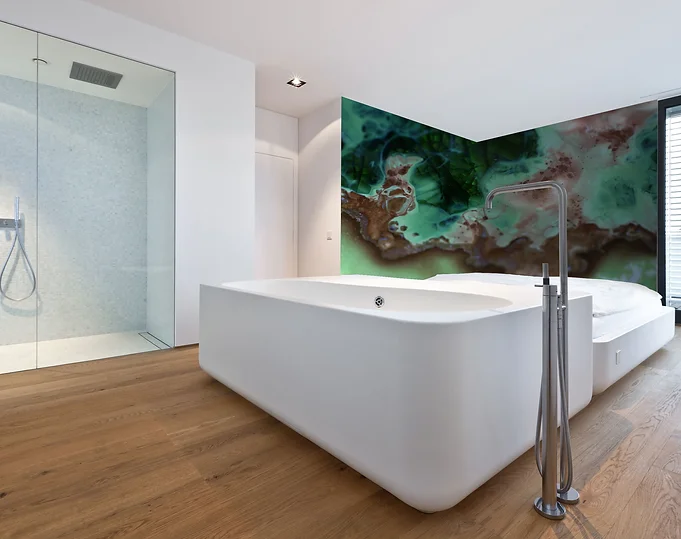
TILE GLAZE – A Revolutionary System that changes the appearance of Tiles into a New Glass Like Finish

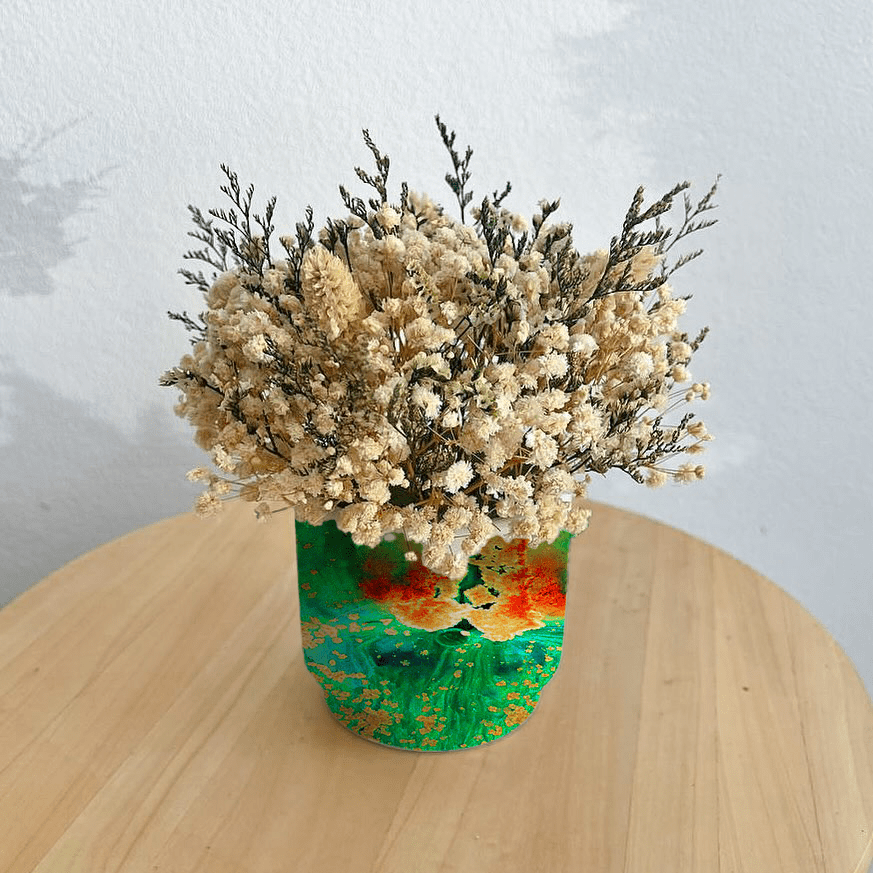
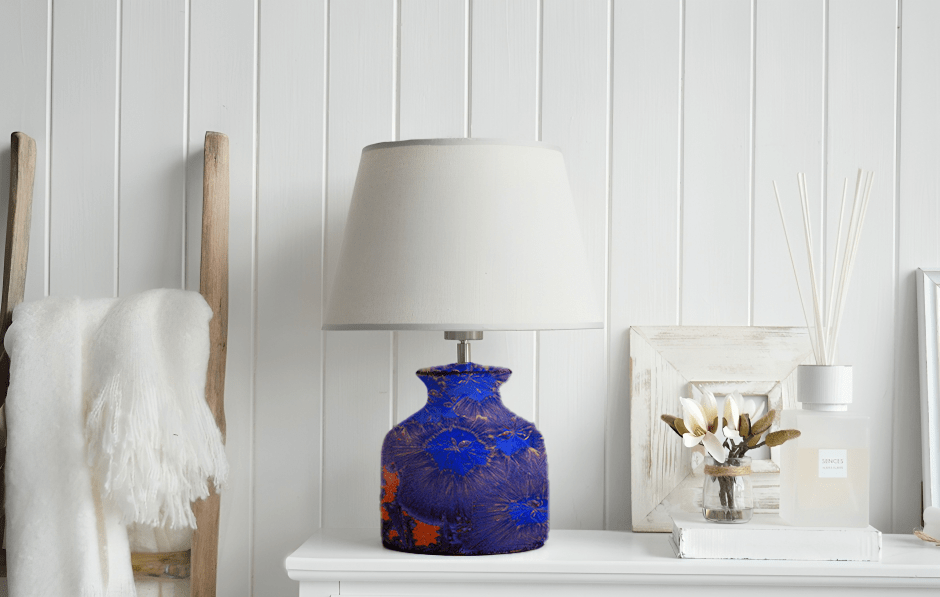
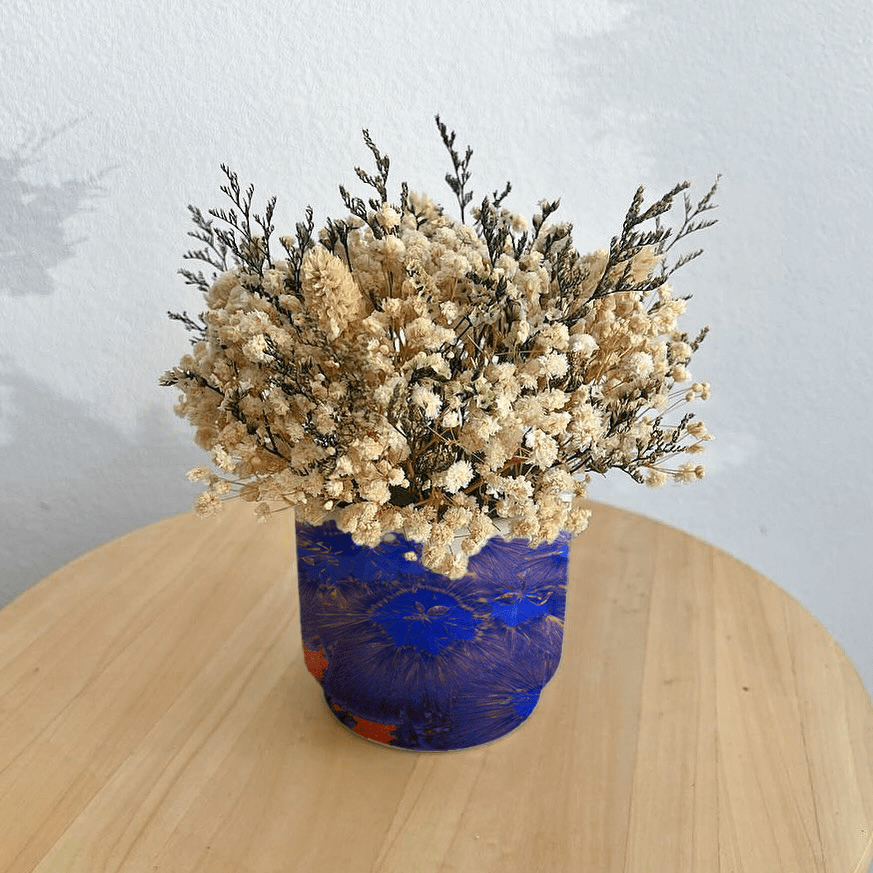
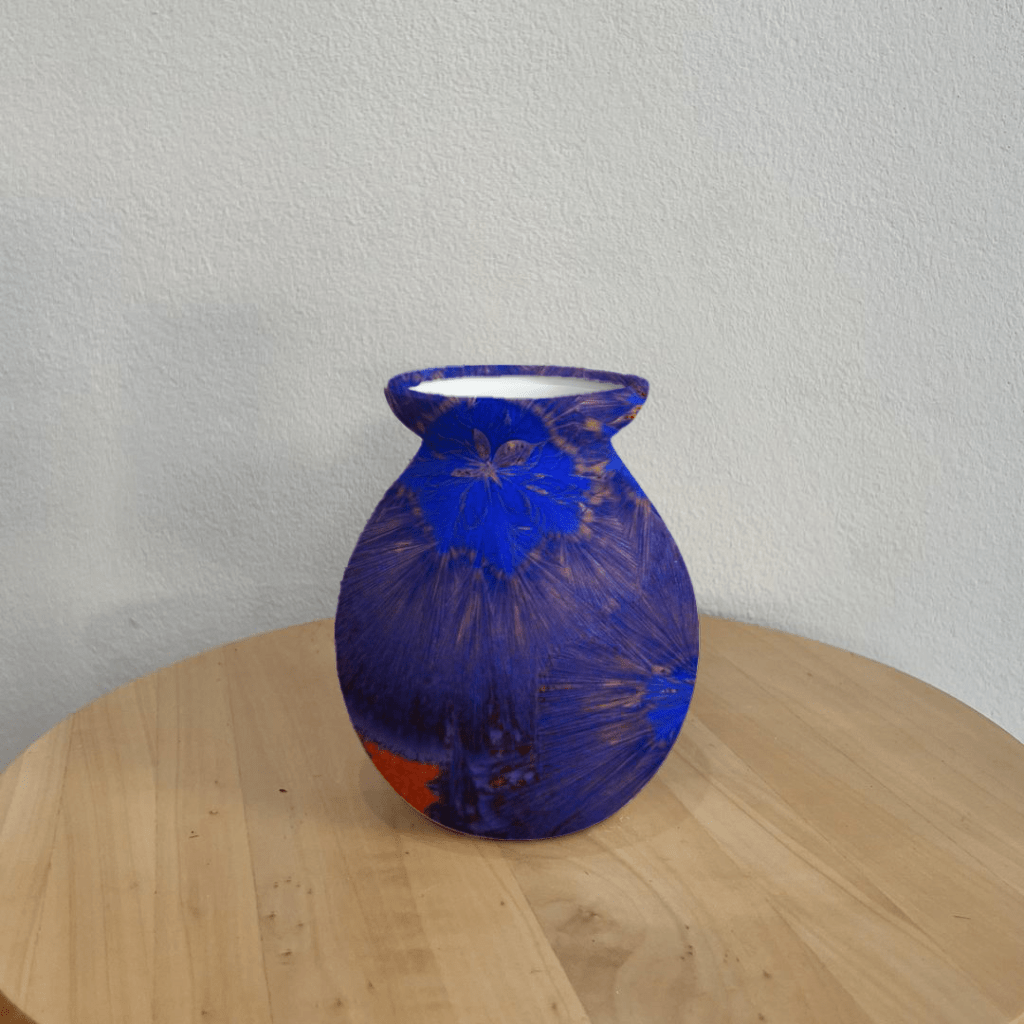
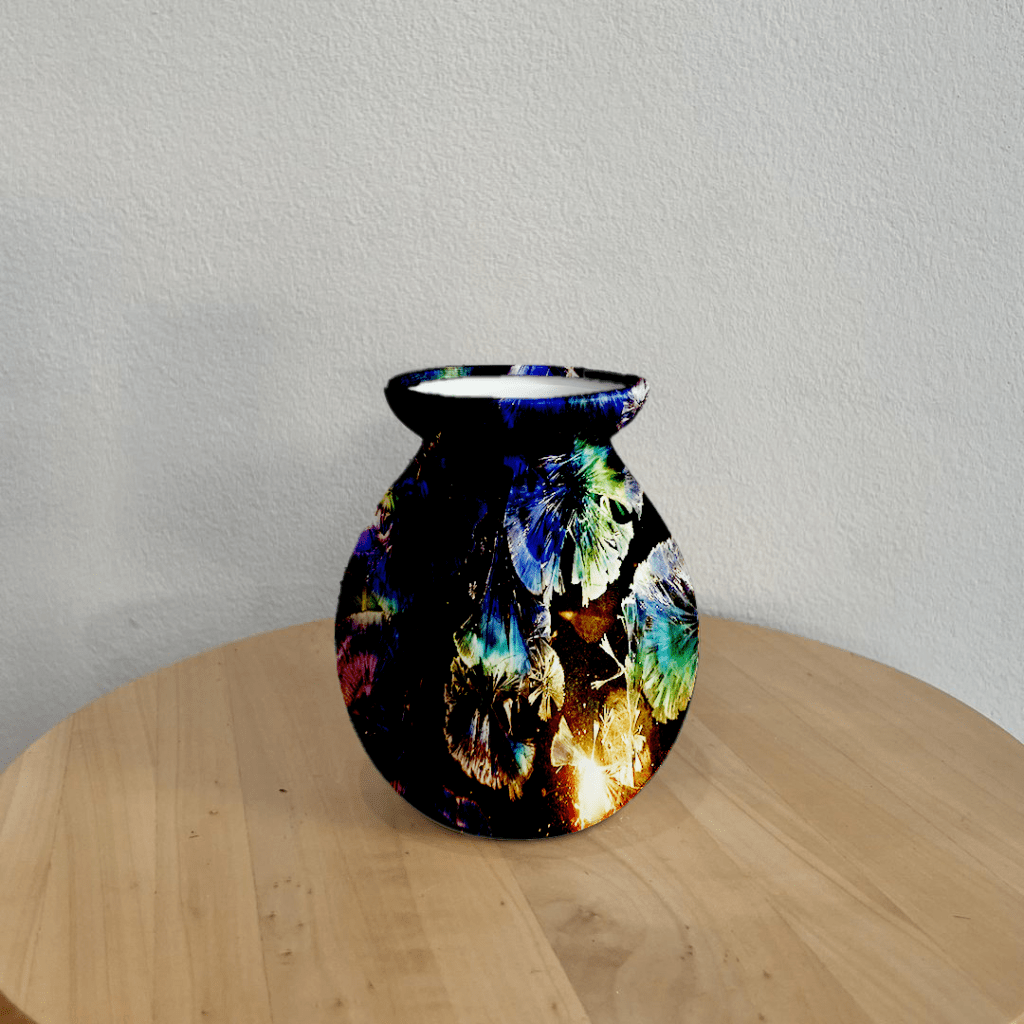
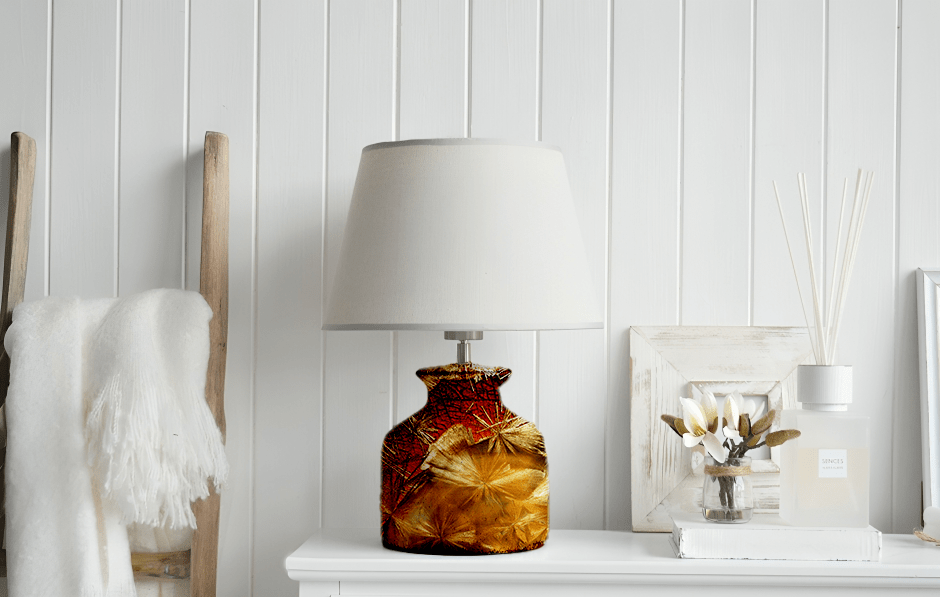
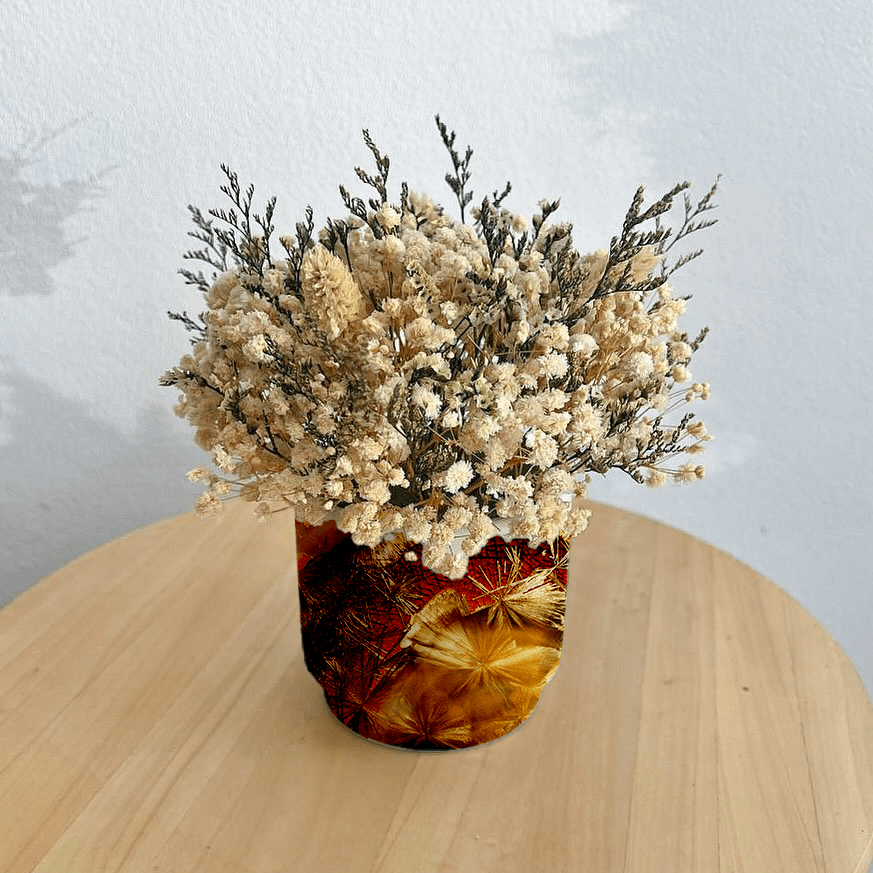
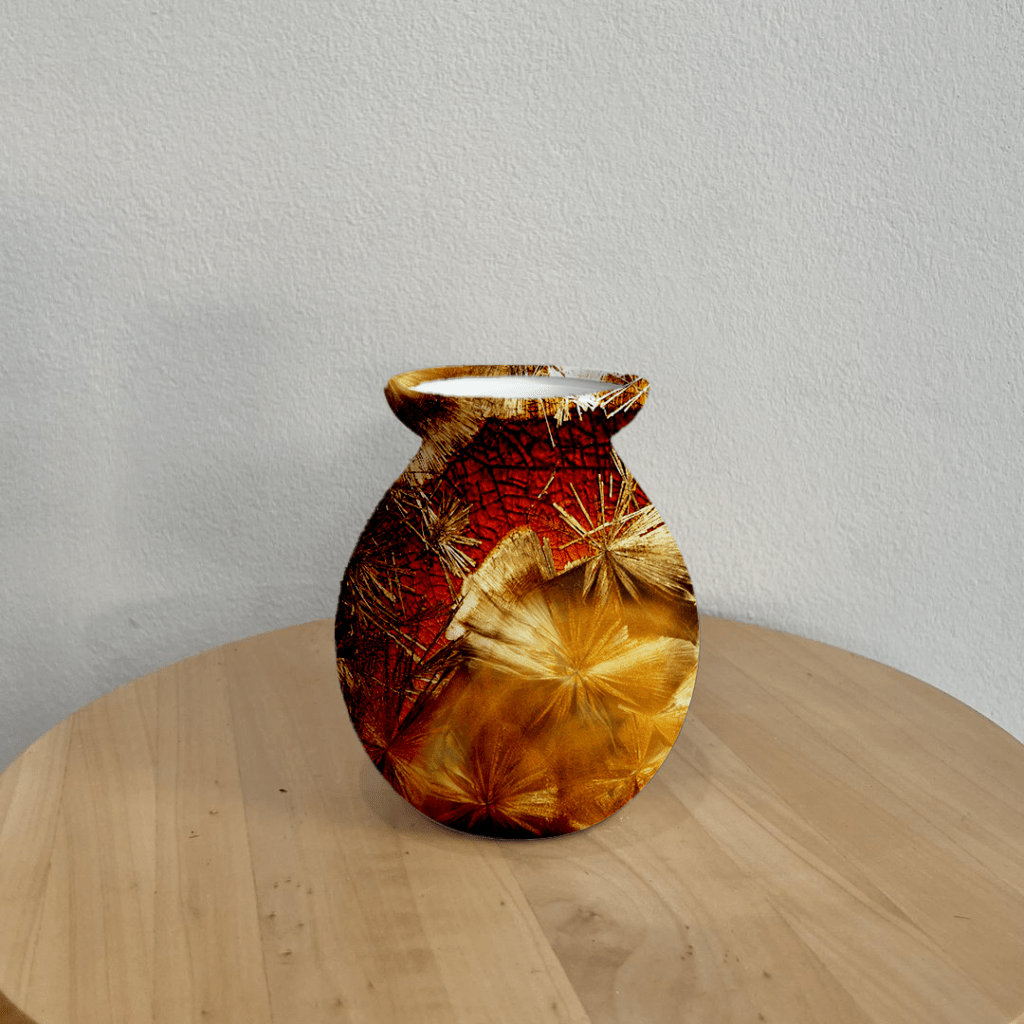
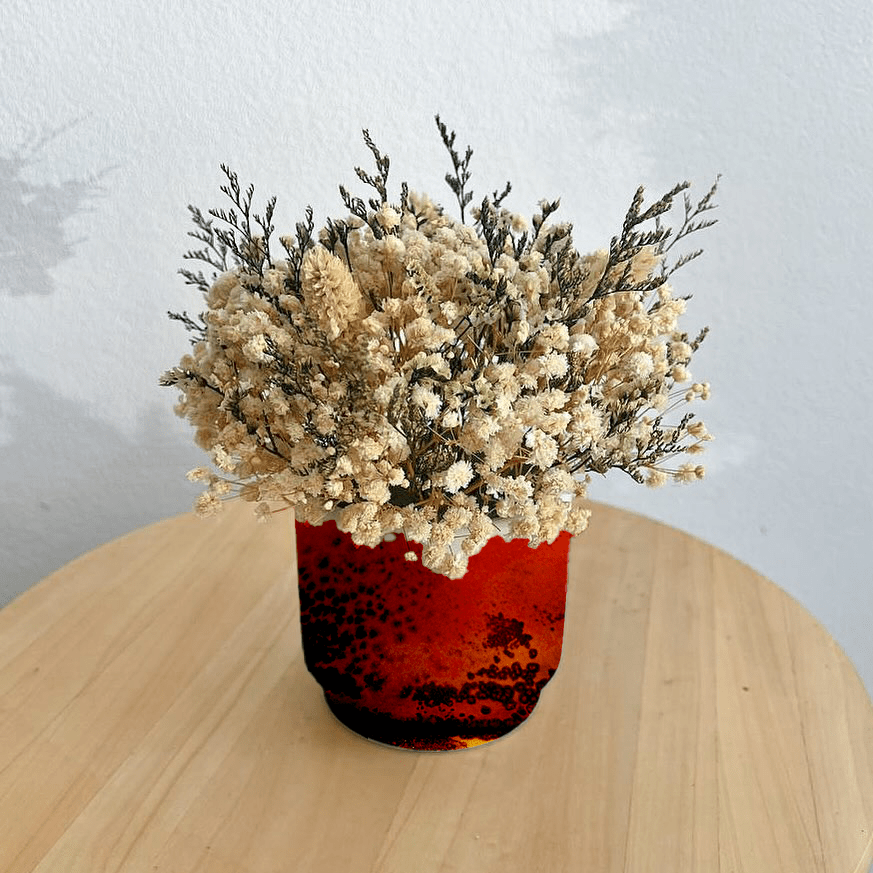
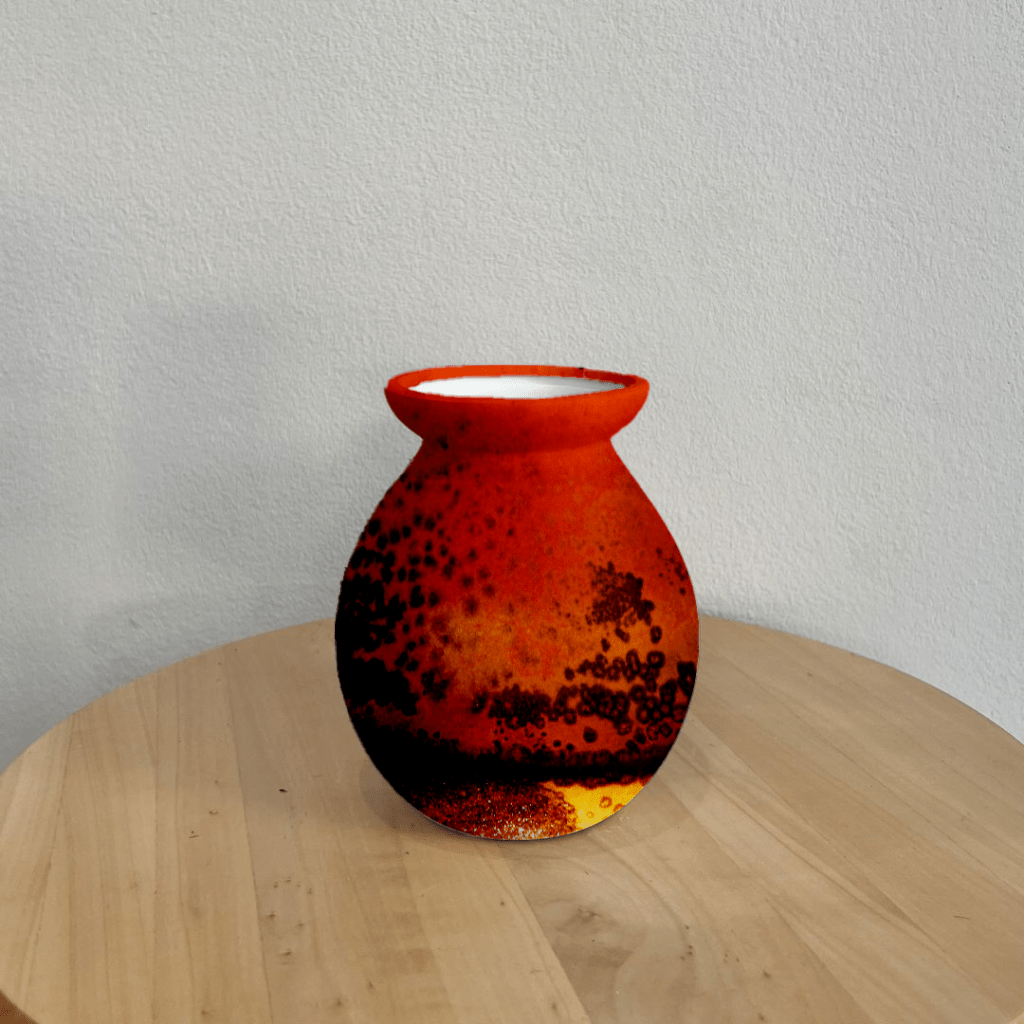
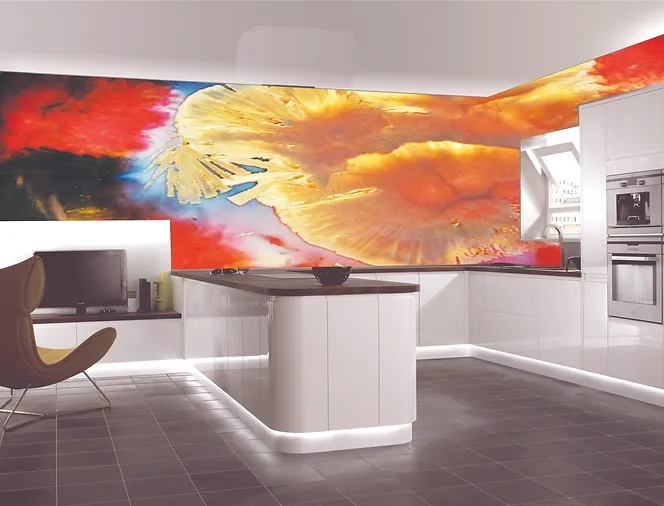
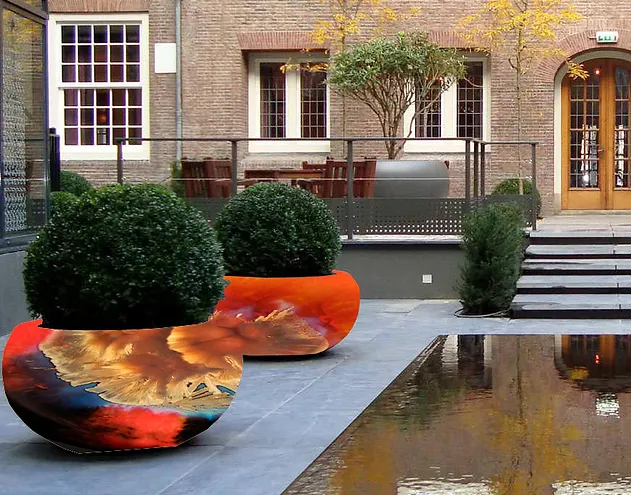
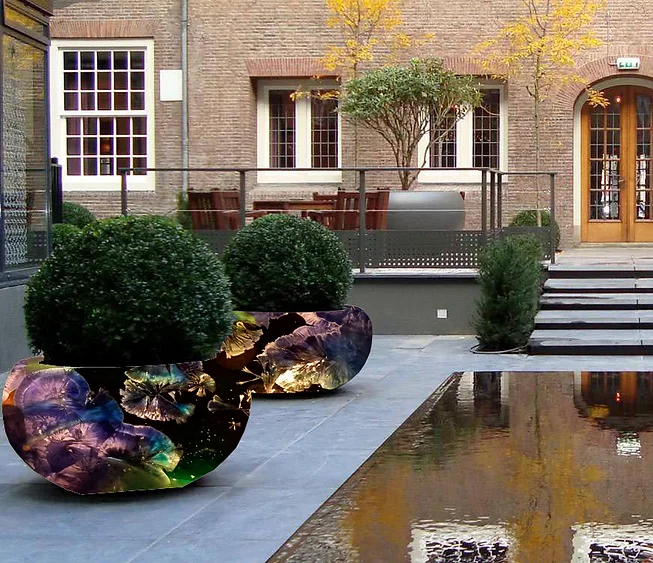
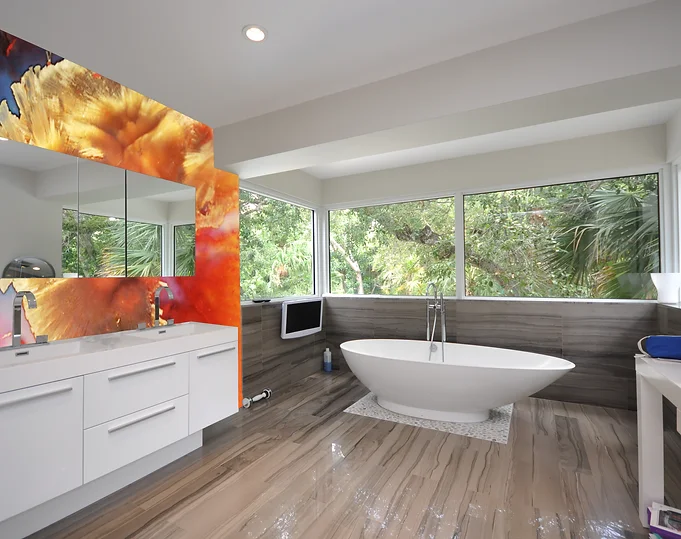
3D CRYSTAL GLAZE – Paint coatings that form a 3D Effect in 2 Colour Tones.

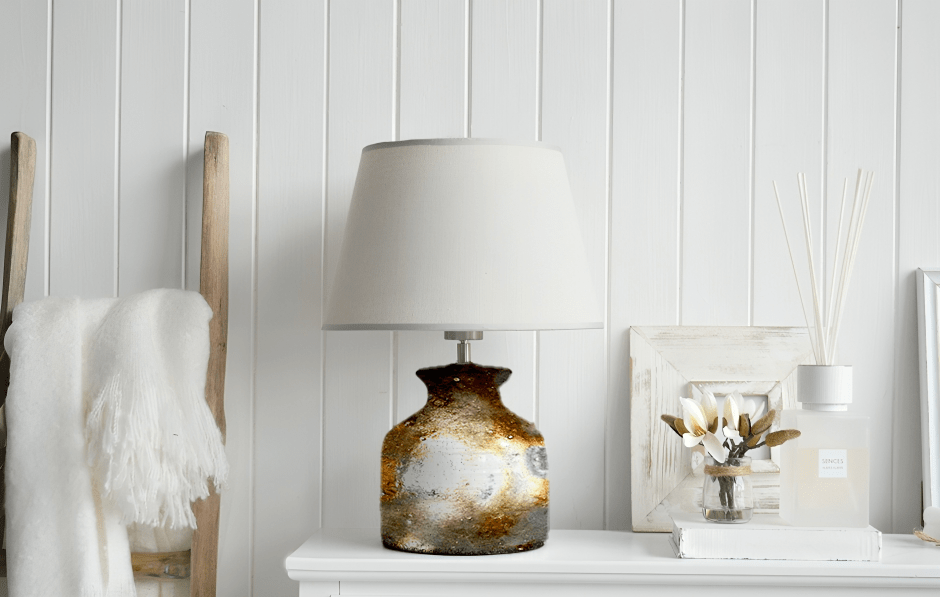
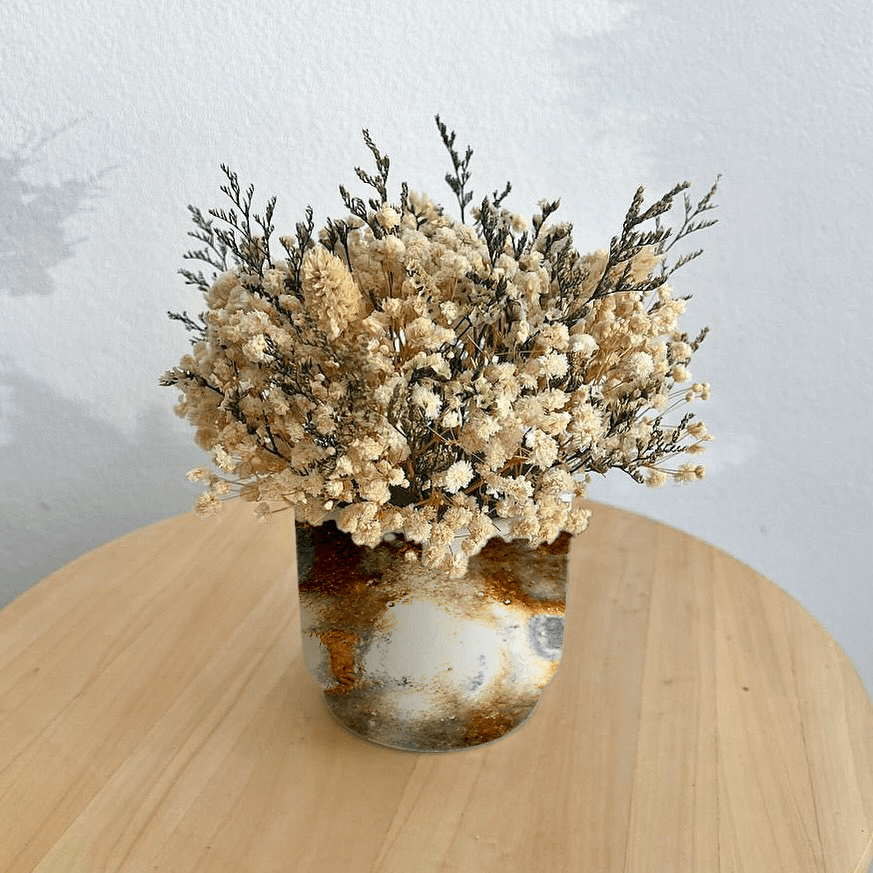
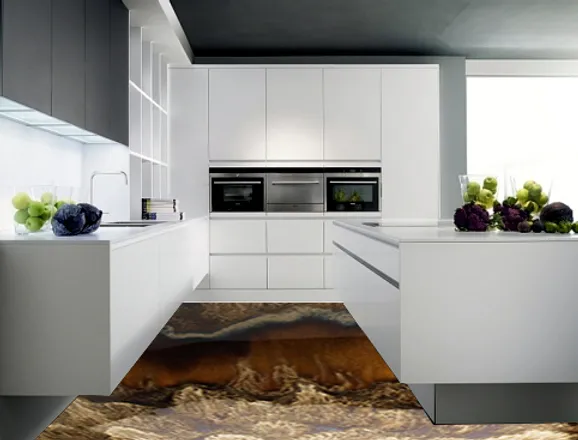
LIQUID STONE – A new reactive paint that forms a Natural Stone Finish on most surfaces.

HYDRO DIPPING

What is hydro dipping?

Hydro dipping is a form of water transfer printing. Colours are applied to the surface of water to create a pattern, when an object is dipped into it the colours and patterns adhere to the object’s surface. It’s also known as immersion printing and is a form of marbling. 

What do you need for hydro dipping?

Tray or container
You need a tray or bucket big enough for your item to be submerged in with a gap around the edge between your item and the container so that it can be lifted up without damaging the design.

Disposable gloves and a mask
Protect your hands by wearing gloves when you’re doing the hydro dipping otherwise, you’ll end up with paint and dyes on your skin. Wearing a mask when working with any kind of aerosol or chemical (such as a hydrofoil activator) is also recommended.

Hydro dipping colourant
We’ll be explaining two ways to do hydro dipping. The first is using spray paints, for that you’ll need a selection of spray paints in a range of colours. The second technique is using hydro-dipping foils in the colours and patterns of your choice.

Primer spray for hydro-dipping
This is a spray that needs to be applied all over the surface of your item to help the colour and pattern adhere to the surface.

Activator spray for hydro dipping
This is only needed if you’re using hydro-dipping foils – the spray turns the foil into liquid.

Sealant / top coat spray for hydro-dipping
At the final stage, a sealant gets sprayed over your item to ensure the colour and pattern are long-lasting.

Wooden stick
Use this to make swirly designs or create a marbled effect in your colours.

Painter’s tape
This is to mask off any areas of your item that you don’t want to pick up any colour. For example, if you are hydro-dipping footwear you might not want the soles to be coloured – in which case, cover them with tape before dipping.

Preparing your item for hydro-dipping

Before you begin the hydro dipping you need to prepare your item. Ensure it’s clean and dust free then spray a primer all over it. The primer needs to be dry before applying a second coat. This may take a couple of hours but be patient – the primer is an essential step as it helps the colours adhere to the surface. If you are using a spray primer, make sure to do so in a well-ventilated area and wear a mask.

error: Content is protected !!
Scroll to Top